
Break it down… way doooooown
Have you ever dreaded doing something, like writing a tricky email, and so you put it off and just worry about it instead?
Hopefully you then had the experience of realizing all that it took was to draft it, take a break, come back and edit it, and click send.
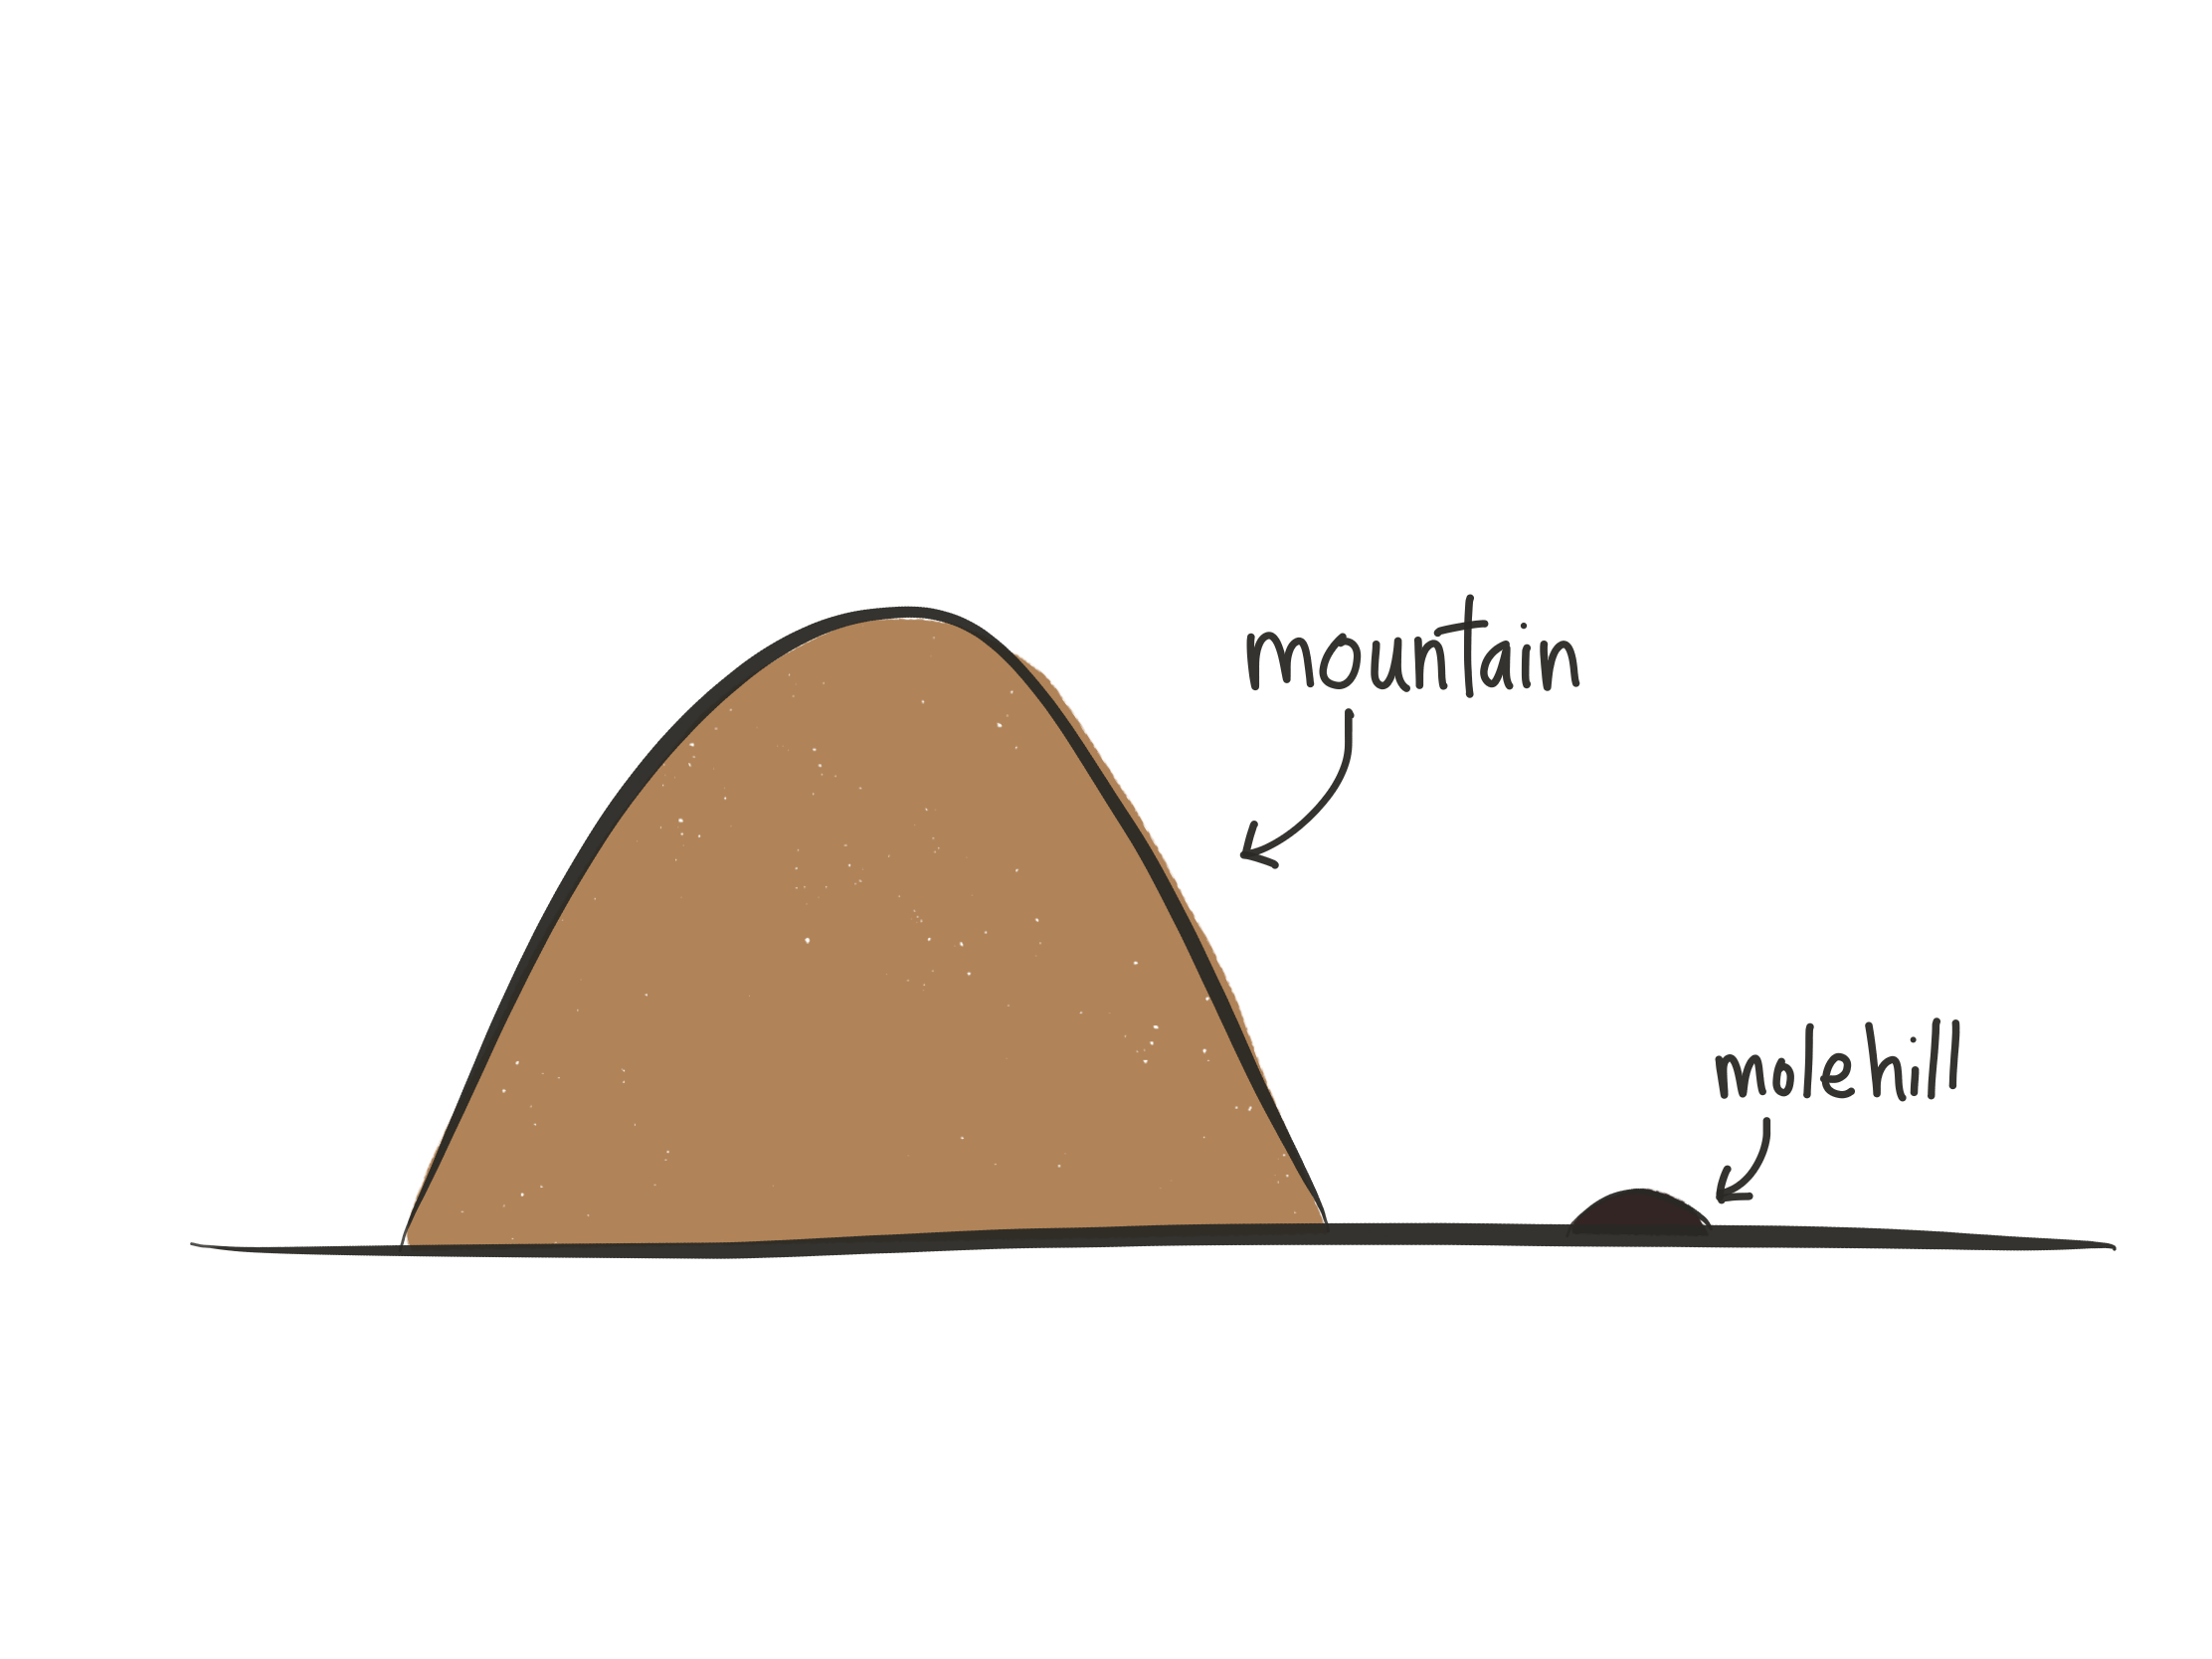
We all have a tendency to “make a mountain out of a molehill” when it comes to tricky tasks. And for many students we work with, this is something they experience every day! Breaking work down into smaller steps can help students—and us!—tackle tricky tasks.
Breaking Down Tasks
When teachers give students a direction, such as for an activity in class or a long-term project, we often have an idea in our heads of what the parts are. We created the assignment, so the steps required to complete it are second nature to us.
Unfortunately, students don’t automatically understand our internal mental structure! This is especially true for students who struggle with executive functioning. You see this when students:
have a hard time getting started
miss important steps
get lost and overwhelmed
finish early but didn’t know there was another part

So it’s critical to break down tasks for students, and share these steps in a way that they can track their progress. This is often referred to as task analysis.
Having larger tasks broken into sub-steps helps students to get started on a task and to know what’s coming next.
The easiest way to do this is to create a checklist:
☑️ Break down tasks into clear sub-steps
☑️ Make a check box for each step
☑️ Share with students so they can see the steps and track their progress
“Without appropriate support, the child with Asperger Syndrome may feel he is drowning in a million different sub-tasks.”
(in Attwood, Complete Guide to Asperger’s Syndrome)
Checklist Tips
Checklists are a simple strategy that can help students. Try these tips to make the most of your checklists.
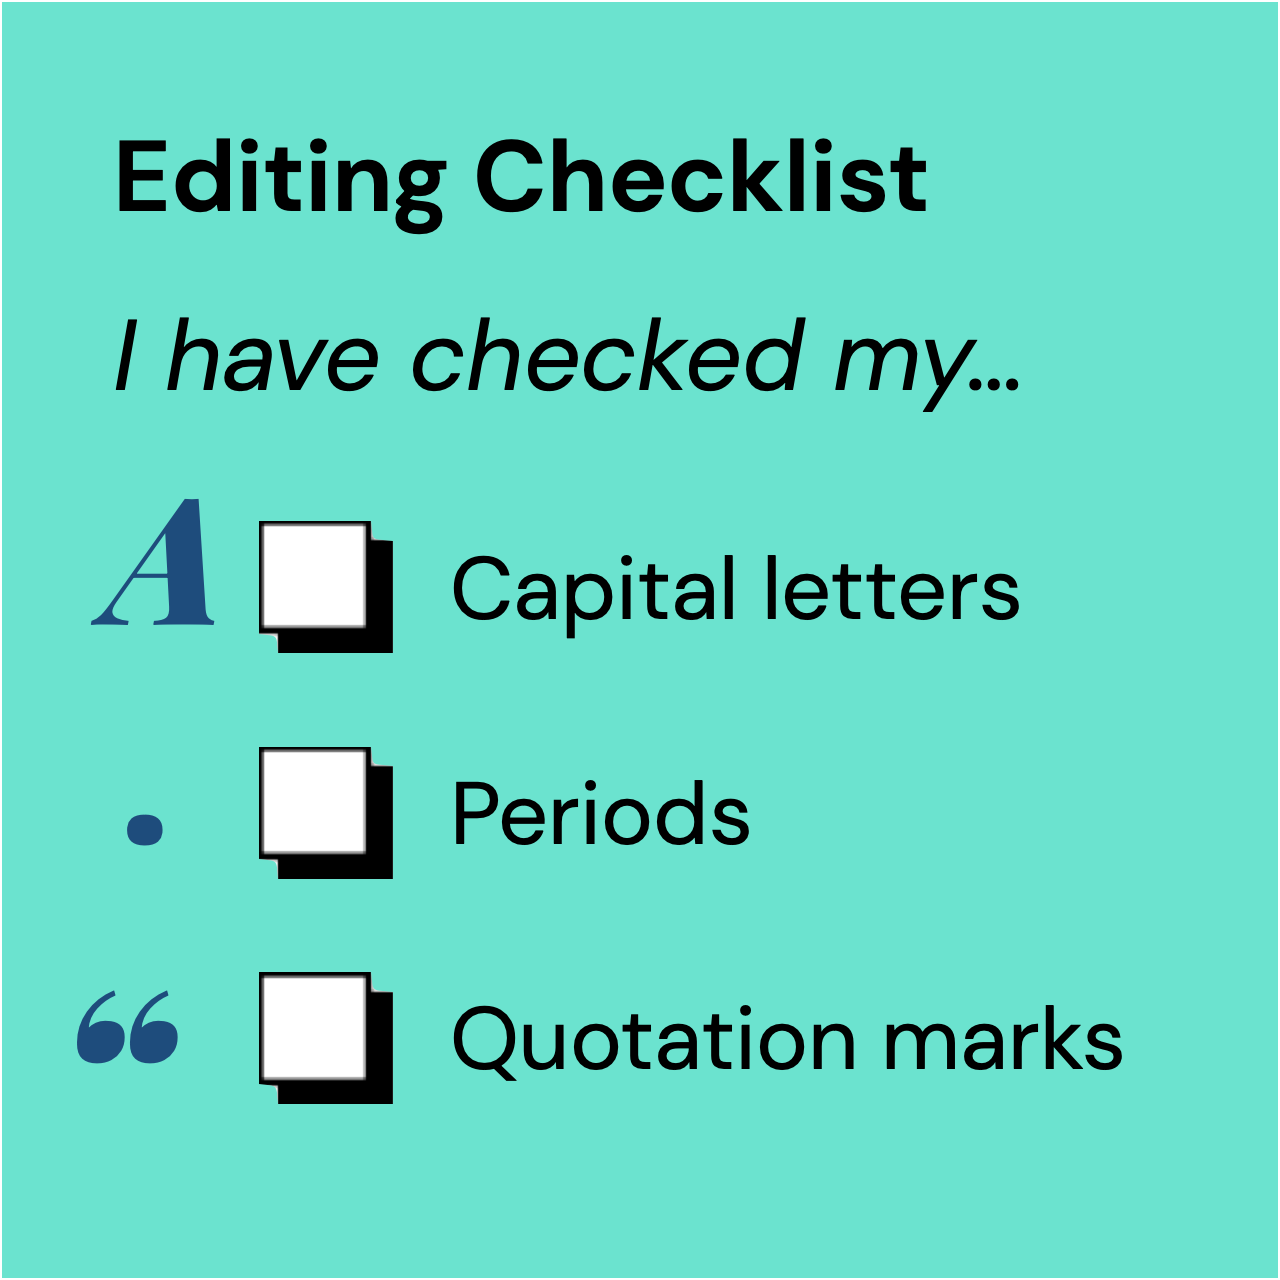
Use visuals
Include visuals like illustrations or icons. These can help make the tasks more concrete by showing students each step is about.

Offer choice
Give students options. Consider allowing them to decide on the order they complete steps. Or invite them to choose 3 out of 6 options.
Providing choice and flexibility gives students a sense of autonomy in their work, rather than it being entirely determined by the teacher.
![Grey checklist reading: Read document, Review map, Annotate map, [break], Draft response](https://images.squarespace-cdn.com/content/v1/60e36dba270c2d254c4327d3/be061036-0b8e-47ad-9ddc-f2383e75abce/checklist_with_break.png)
Build in breaks
Sustaining attention can be taxing. Encourage students to take breaks from a long task by building it in to their checklist. This can help build self-regulation and stamina.
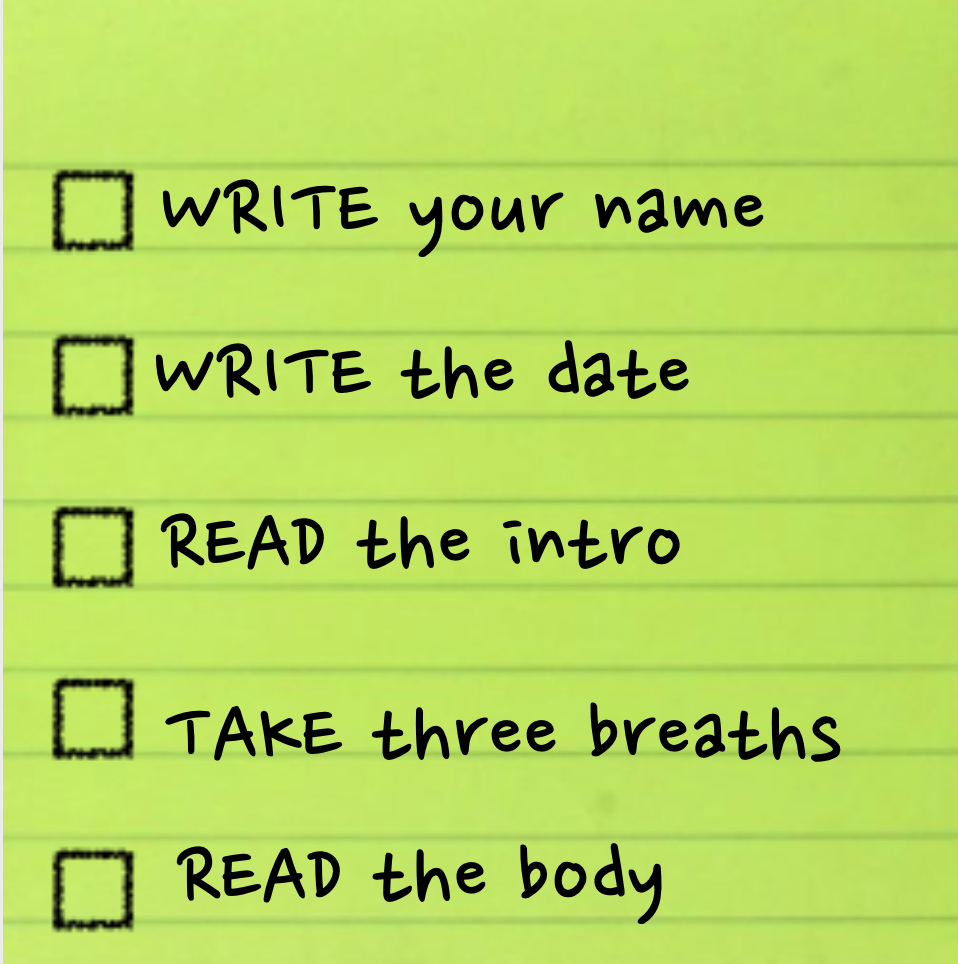
Start with a “doable first step”
Be sure the first item or two on a checklist aren’t too overwhelming that it deters a student from getting started. A simple start can build momentum!
Practice Sequencing
You might consider supporting a student—or an entire class—in first thinking about the steps in a project in any order, and then sequencing them. A great way to do this is with post-it notes. Work with students to:
Write one step per note
Move them around into the order that makes the most sense to tackle
Work their way through the project in the order of the notes, removing them one-by-one as they complete the steps

Introducing the Checklists to Students
Introducing any new strategy to an individual student requires some thoughtful planning. Be sure to involve students in the creation of the checklist, share why you’re using it with them and how you feel it can help them, and invite feedback about what they would find most helpful.
Whatever you do, avoid the plop and walk: Never just plop a checklist you create in front of a student and walk away, expecting them to know how to use it and what every step entails. Take some time to introduce it, explain the breakdown of tasks, and model how they can check things off as they go.
Using checklists in this way can support students’ executive functioning skills, like task initiation, working memory, and planning & prioritization. Over time, students can create their own lists independently and have a helpful life skill at their fingertips for future classes and for life beyond school.
For great info on executive functioning from autistic self-advocate, Anouk, be sure to follow @autism_sketches on Instagram.

Want to learn more?
Join me at my Inclusive Classroom Workshop Series, where we’ll dive into executive functioning, and much more!

Grab a checklist template
Print copies of this template to have on hand to use repeatedly.
Or customize it by editing it in Google Docs.